Diferencia entre revisiones de «Translations:CONN kiBox/5/en»
De wiki.kiconex
Sin resumen de edición |
Sin resumen de edición |
||
| Línea 1: | Línea 1: | ||
=== 2.- Network- | === 2.- Network-Internet connection === | ||
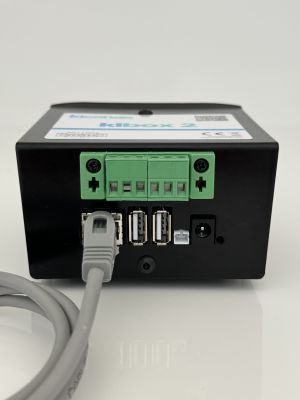
To connect to the | To connect to the Internet, the ''kiBox'' must be connected using an RJ45 cable to the connector located at the bottom left. The ''kiBox'' connects to the Internet using a dynamic IP (DHCP). This link indicates how to access the [[kiAdmin]] to be able to modify its network configuration and set a static IP. | ||
=== 3.- Power | [[Archivo:Kibox2 v2024 LAN.jpg|centro|miniaturadeimagen|RJ45 cable connected to kibox2]] | ||
To power the | === 3.- Power connection === | ||
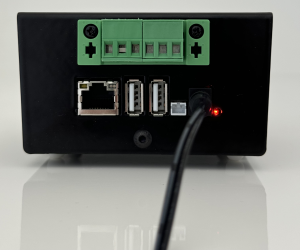
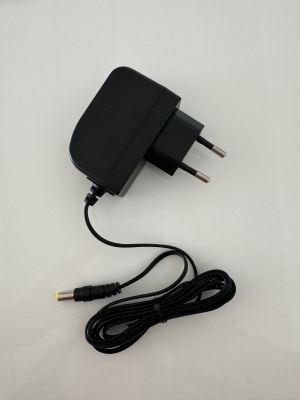
To power the ''kiBox'', simply connect the power cable to its input and this also to the electrical network. | |||
[[Archivo:Kibox2 conectado a red.png|centro|miniaturadeimagen|Kibox 2 connected to the mains with network adapter.]] [[Archivo:Adaptador de red kibox v2024.jpg|centro|miniaturadeimagen|Kibox v2024 network adapter]] | |||
Revisión actual - 13:50 26 ago 2024
2.- Network-Internet connection
To connect to the Internet, the kiBox must be connected using an RJ45 cable to the connector located at the bottom left. The kiBox connects to the Internet using a dynamic IP (DHCP). This link indicates how to access the kiAdmin to be able to modify its network configuration and set a static IP.

3.- Power connection
To power the kiBox, simply connect the power cable to its input and this also to the electrical network.


